Load Balancing Tomcat Instances using NGINX on Windows
[ Apache Tomcat NGINX ] In this post, let’s download NGINX software and setup NGINX as a load balancer for a sample application running on two instances of tomcat. In this scenario, NGINX will be setup to act as a reverse proxy.
Table of contents
- Prerequisites
- Download Apache NGINX
- Configure NGINX with tomcat instances
- Test the sample web app using NGINX port 80
Prerequisites
As a prerequisite, one more more instances of tomcat with a deployed sample app is required for this guide. If you don’t have one, please go through this link here to setup multiple instances of tomcat and deploy a sample app.
Download Apache NGINX
Let’s start off by downloading open source windows version of NGINX web server software. The latest version can be downloaded here.
For this tutorial, I have downloaded NGINX windows version (nginx/Windows-1.17.6) here. Unzip the downloaded file to your working directory. I have downloaded it to M:\nginx-tomcat-load-balancer-setup folder and my folder structure looks like the one shown below.
cd M:\nginx-tomcat-load-balancer-setup\nginx-1.17.6
dir
Output
Directory of M:\nginx-tomcat-load-balancer-setup\nginx-1.17.6

11/19/2019  07:19 AM    <DIR>          .
11/19/2019  07:19 AM    <DIR>          ..
11/19/2019  07:19 AM    <DIR>          conf
11/19/2019  07:19 AM    <DIR>          contrib
11/19/2019  07:19 AM    <DIR>          docs
11/19/2019  07:19 AM    <DIR>          html
12/21/2019  10:43 PM    <DIR>          logs
11/19/2019  06:26 AM         3,710,464 nginx.exe
12/21/2019  10:40 PM    <DIR>          temp
Start NGINX server
On command line terminal, execute the below mentioned commands to start the NGINX server.
M:\nginx-tomcat-load-balancer-setup\nginx-1.17.6
nginx
Validate the startup
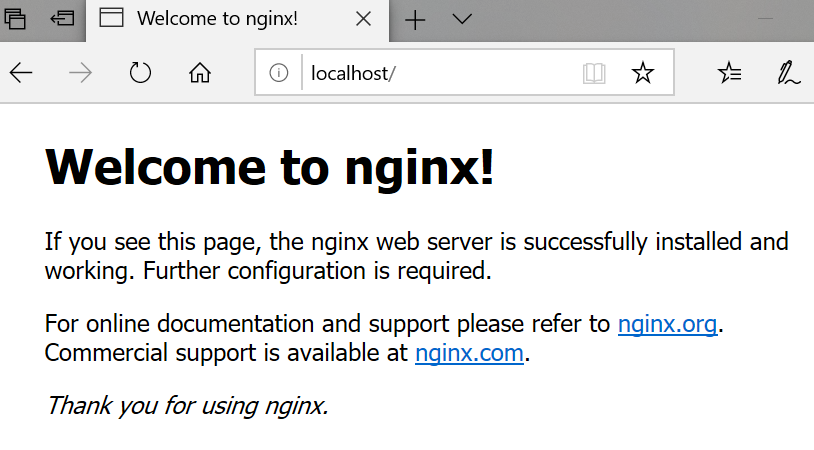
Test the NGINX server in the browser using the URL http://localhost:80/ or simply http://localhost/.
NGINX server will render a welcome page as shown below.

Now we are all set to configure our NGINX server to work as a load balancer for tomcat instances.
Configure NGINX with tomcat instances
Add tomcat server details
I have 2 instances of tomcat running on port 7070 and 9090. Each of these instances also has a sample web app deployed.
Before we proceed with NGINX setup, let’s make sure these tomcat server instances are up and running by checking the sample app url for both tomcat the instances.
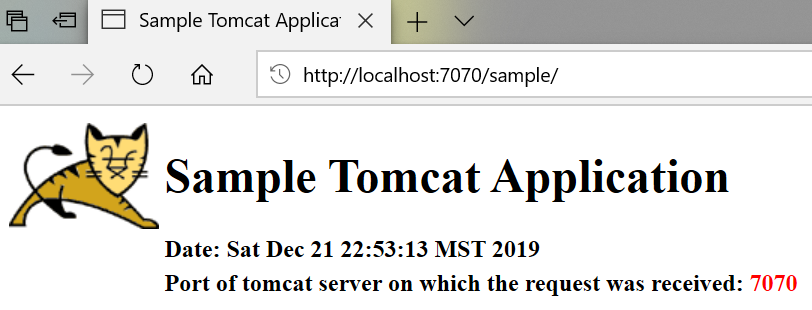
Test the tomcat instance 1 app in the browser using the URL http://localhost:7070/sample/.

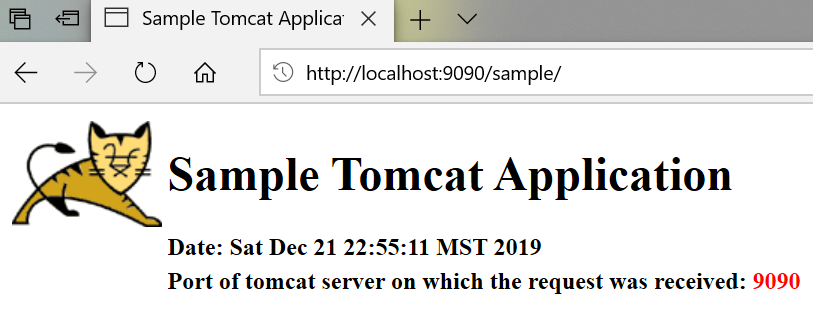
Similarly, test the tomcat instance 2 app in the browser using the URL http://localhost:9090/sample/.

Now that the instances are up, let’s proceed with NGINX configuration setup.
Update nginx.conf file with below configuration which needs to be within the existing http {...} block as shown here.
###########################################
# Default round robin load balancing config
###########################################
upstream my_tomcat_setup {
    server localhost:7070;
    server localhost:9090;
}
Add server details
###########################################
#
###########################################
server {
    listen 80;
    listen [::]:80;
    location / {
            proxy_redirect      off;
            proxy_set_header    X-Real-IP $remote_addr;
            proxy_set_header    X-Forwarded-For $proxy_add_x_forwarded_for;
            proxy_set_header    X-Forwarded-Proto $scheme;
            proxy_set_header    Host $host;
            proxy_pass          http://my_tomcat_setup;
    }
}
Reload NGINX Config
Let’s reload NGINX configuration for the above changes to take effect by executing the below command in the command line.
cd M:\nginx-tomcat-load-balancer-setup\nginx-1.17.6
nginx.exe -s reload
Test the sample web app using NGINX port 80
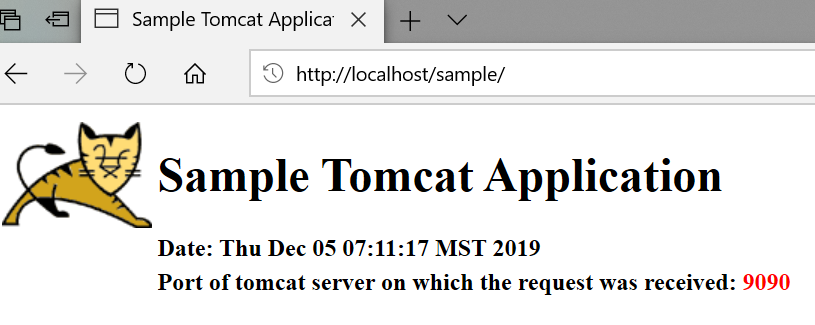
Now, test the NGINX setup by hitting the sample app URI using port 80 in the browser using the URL http://localhost:80/sample/.
Refresh the URL and the page will be rendered by instance 1 and 2 in round robin way.

Stop the NGINX server
You can use the below command to stop the NGINX service.
cd M:\nginx-tomcat-load-balancer-setup\nginx-1.17.6
nginx.exe -s stop
nginx.exe -h will give you list of all the commands which can be used with NGINX.
Summary
This concludes our guide to setting up NGINX as a reverse proxy for multiple tomcat instances.
Your feedback is always appreciated. Happy coding!
Related Posts: